
Bhramari Pranayama: Steps, Benefits and Precautions
Learn how to do Bhramari Pranayama with beginner-friendly steps, humming guidance, practice duration, benefits and precautions and tips
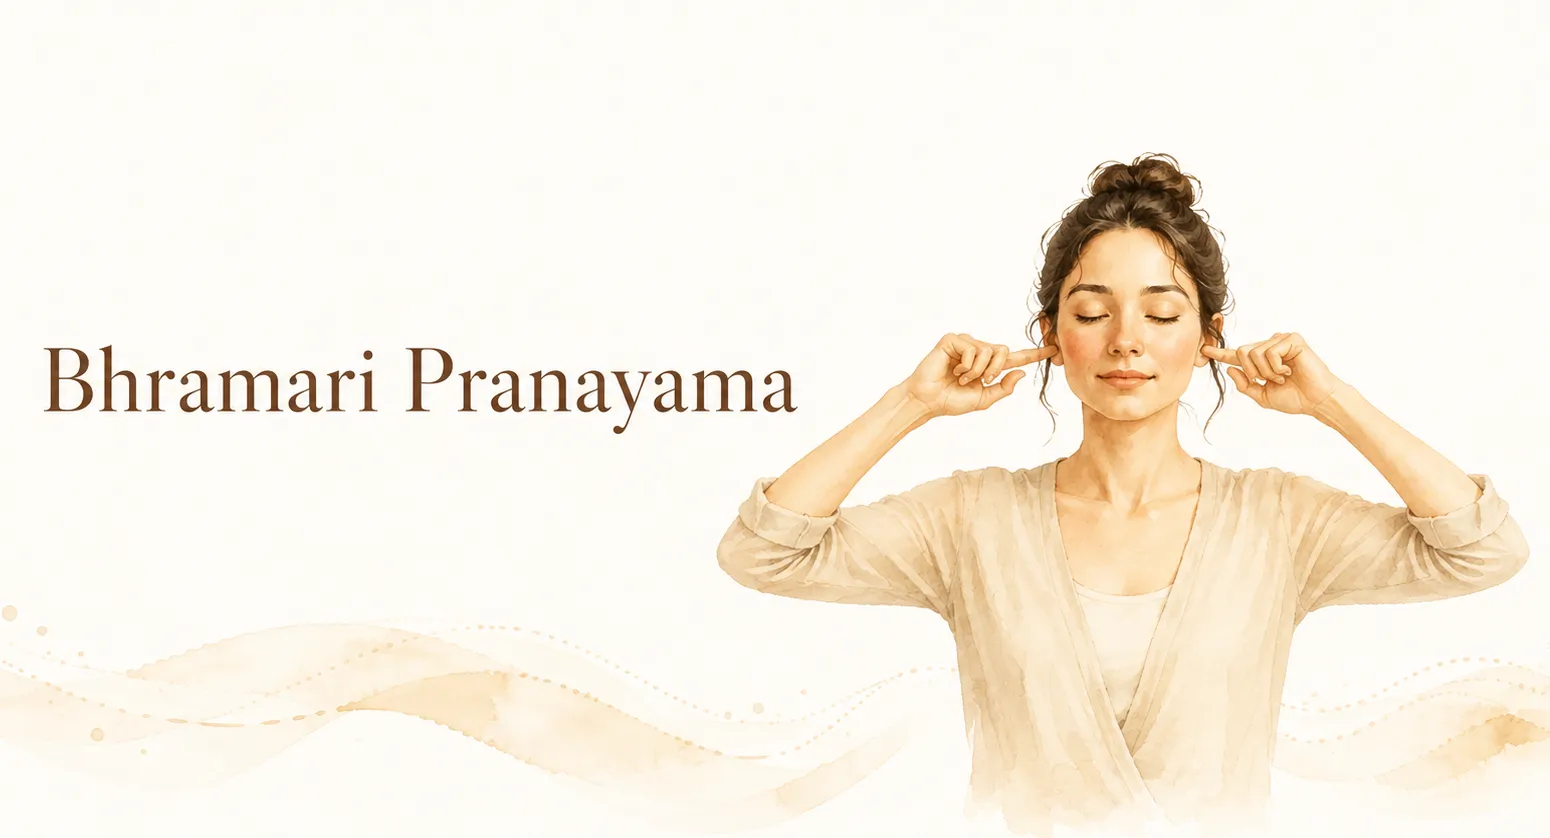
Bhramari Pranayama is a breathing practice in which you make a steady, bee-like humming sound while breathing out. It is also called humming bee breath.
The practice is simple enough for beginners. You sit comfortably, breathe in through the nose, and hum through a slow exhalation with the mouth closed. The sound and vibration give the mind one clear point of attention.
This beginner method uses gentle contact with the cartilage beside the ears, a comfortable higher-pitched hum and a short period of quiet observation at the end.
What Is Bhramari Pranayama?
Bhramari Pranayama combines breathing, humming and attention. Unlike ordinary humming, the sound continues through most of the exhalation while you notice the vibration it creates.
The aim is not to produce the longest or loudest sound. The aim is to keep the breath controlled and the hum smooth without tightening the face or throat.
In traditional practice, Bhramari is used to turn attention inward and prepare the mind for meditation. You can also use it when you feel stressed, angry, agitated or mentally overloaded. It is a self-regulation practice, not a treatment for a medical condition.
How to Do Bhramari Pranayama
Choose a quiet place where you can sit without interruption. You may sit on firm ground in a comfortable meditation posture or use a straight-backed chair if sitting on the floor is difficult.
Keep the body, spine and head upright without becoming stiff. Let the shoulders, face, jaw and throat remain relaxed.
Bhramari Pranayama steps
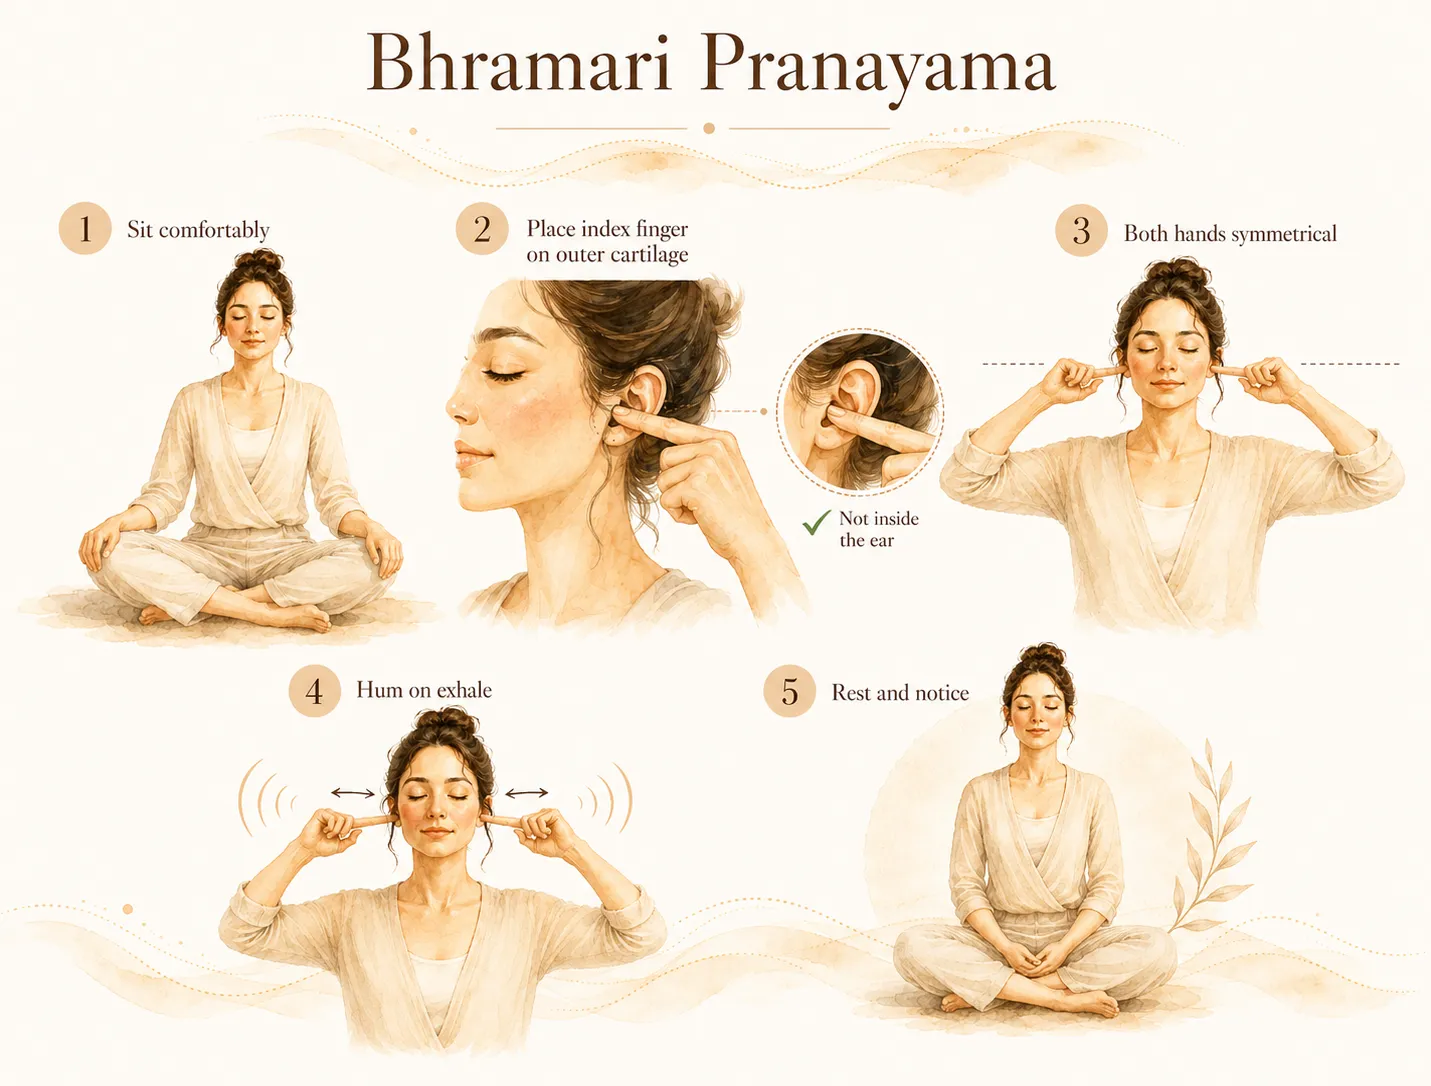
- Sit comfortably and take a moment to settle.
- Close your eyes, soften your face and keep a gentle smile.
- Place each index finger on the small area of cartilage between the cheek and the ear. Do not put your fingers inside the ear canal.
- Breathe in deeply through the nose.
- Keep the mouth closed. As you breathe out, make a smooth humming sound like a bee.
- While humming, move the fingers gently in and out against the ear cartilage. Do not press hard.
- Let the sound continue only while the exhalation remains controlled and comfortable.
- Breathe in again and repeat.
- After the final round, keep your eyes closed for a short time. Let the breath return to normal and notice the sensations in the body.
Use a comfortable higher-pitched hum. Higher pitch does not mean shouting. Keep the volume low enough that the throat remains relaxed.
A hands-free variation
You can also practise a simpler form without closing the ears. Sit upright, keep the mouth closed, breathe in through the nose and make a slow, continuous hum while breathing out.
This variation may be easier if moving the ear cartilage distracts you. Keep the two methods separate while learning so that you can notice how each one feels.
What should the humming sound feel like?
The sound should feel slow, smooth and continuous. You may notice vibration around the nose, face or head, but there is no need to chase a strong sensation.
Your throat should not feel squeezed. Your face and jaw should not harden. If the sound becomes rough, shaky or uncomfortable, make the next hum softer or return to normal breathing.
Do not measure success by how long you can exhale. Finish the round before you need to gasp for the next breath.
How many rounds should beginners practise?
Begin with four rounds. Pause for one or two natural breaths between rounds if needed.
Once four rounds feel easy, you may build up to six or seven. You can eventually practise a short session up to three or four times during the day, but beginners do not need to reach that frequency immediately.
Start with one comfortable session and observe how you respond. A calm, controlled practice is more useful than forcing a fixed number.
Safety, Precautions and Common Mistakes
Bhramari should feel controlled, not demanding. Stop the round and return to normal breathing if you feel dizzy, breathless, agitated or in pain.
Do not continue through ear discomfort, facial pressure or a headache. If symptoms persist or you are unsure whether pranayama is suitable for you, seek personalised advice from a qualified health professional and an experienced yoga teacher.
No breathing practice should be assumed to suit every person. If you have an ongoing medical condition or are unsure whether breathwork is suitable for you, ask a qualified health professional and an experienced yoga teacher for individual guidance.
Common beginner mistakes
Forcing the exhalation: Stop humming while the breath is still comfortable. Do not push out the final air or pull the stomach in forcefully just to extend the sound.
Confusing pitch with loudness: A higher note can still be gentle. Shouting may tighten the throat and face.
Pressing the ears too hard: The fingers belong on the outer cartilage, not inside the ear. Use only light movement and pressure.
Tightening the throat: Reduce the volume and pitch until the sound becomes easy again.
Chasing a fixed duration: Breath capacity varies. A smooth short round is better than a long strained one.
Skipping the quiet pause: After the final hum, allow the breath to settle. This is where you can notice the shift from sound to silence.
Possible Benefits of Bhramari Pranayama
What you may notice in practice
With gentle practice, you may notice that your attention feels steadier and mental agitation becomes less intense. The humming gives the mind one clear point of focus, which can make it easier to pause during stress, work pressure, anger or frustration.
The change from humming to silence may also make the transition into quiet sitting or meditation feel more natural. These are possible short-term experiences, not guaranteed outcomes. Bhramari is a breathing and attention practice, not a treatment for anxiety, high blood pressure or another medical condition.
What Does Science Suggest?
Two mechanisms are often proposed to explain Bhramari: changes involving nasal nitric oxide and a shift towards the calming part of the nervous system. These ideas may help researchers form questions, but a possible mechanism does not prove a health benefit.
Humming and nasal nitric oxide
Nitric oxide, often shortened to NO, is a molecule involved in blood-vessel function and communication between cells. Humming creates vibration in the nasal passages and may influence the movement or production of nitric oxide there.
A small study involving 10 healthy adults found that nasal nitric oxide increased during humming compared with quiet exhalation. It measured an immediate change during ordinary humming, not the long-term effects or health benefits of Bhramari Pranayama. (Weitzberg and Lundberg, 2002)
This finding has led to proposals about blood-vessel relaxation, circulation and oxygen delivery. However, an immediate change in nasal nitric oxide does not prove that Bhramari produces meaningful improvements in these outcomes.
Breathing and the nervous system
Humming with a slow, controlled exhalation may also support parasympathetic activity. The parasympathetic nervous system is involved in the body’s rest-and-recovery response.
This may help explain why some people feel calmer after practising. It does not establish that Bhramari lowers blood pressure, reduces strain on the heart or improves brain function.
Limits of the available evidence
Research findings on Bhramari may vary because people can practise the technique in different ways and for different lengths of time. A result observed in one group may not apply to everyone or show a lasting benefit. It is therefore best to approach Bhramari as a gentle breathing and attention practice, not as a replacement for medical care.
Bhramari Before Meditation
Bhramari can provide a simple bridge into meditation. The sound gives you something clear to follow, and the silence afterward becomes the next object of attention.
Try this short sequence:
- Sit in a comfortable upright position.
- Practise four gentle rounds of Bhramari.
- After the final round, place the hands on the thighs.
- Let the breath return to its natural rhythm.
- Notice any remaining vibration without trying to hold it.
- Sit quietly and observe the breath for a few minutes.
There is no need to create a special experience. If the mind wanders, return attention to the natural breath.
Frequently Asked Questions
How long should Bhramari Pranayama last?
There is no fixed duration for a beginner round. Hum only while the exhalation remains smooth and stop before you need to gasp for the next breath.
What is the best time to practise Bhramari Pranayama?
Choose a time when you can sit quietly without interruption. The practice can be done during the day or as part of a gentle evening routine.
Can Bhramari Pranayama be done after food?
Avoid practising while your stomach feels full or heavy. Wait until you can sit upright and take a deep breath without discomfort.
Can Bhramari Pranayama be done before sleep?
You may practise a gentle session while winding down if it feels comfortable. Use it as a calming routine, not as a treatment for insomnia.
A Simple Place to Begin
Bhramari Pranayama does not require a long session. Begin with four comfortable rounds, let the breath settle, and sit quietly for a few minutes. Notice your experience without expecting a particular result.